Planet Visibility Finder: Which Planets Can You See Tonight?

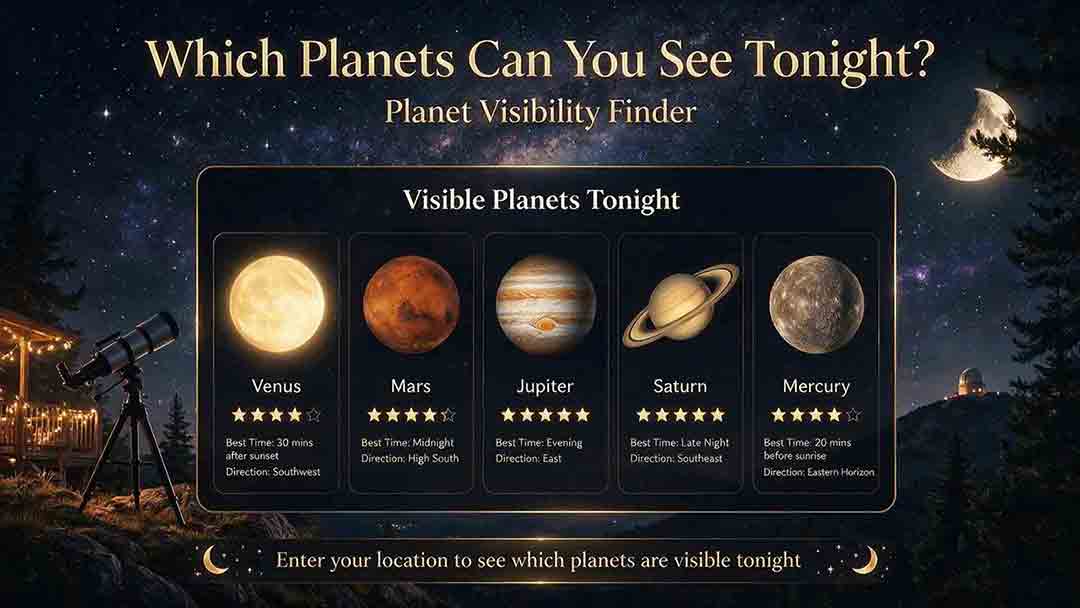
Planet Visibility Finder: Which Planets Can You See Tonight?
A Planet Visibility Finder checks your location, date, and local time to show which planets are above the horizon and whether they are realistically observable. The strongest candidates are high enough, bright enough, sufficiently separated from the Sun, and visible during usable twilight or darkness. Weather, haze, moonlight, artificial skyglow, and local obstructions can still change the result.
Key Takeaways
- A planet being above the horizon does not automatically make it visible.
- Altitude, apparent brightness, twilight, solar separation, and local conditions must be considered together.
- Mercury and Venus are usually limited to evening or morning twilight because they remain near the Sun in Earth’s sky.
- Mars, Jupiter, and Saturn can be naked-eye targets when their position and brightness are favorable.
- The best viewing period is the overlap between the planet’s useful altitude window, suitable darkness, and your available session.
This guide turns a planet finder’s output into a practical decision: observe now, wait until later, use optical aid, or choose another night.
How Do You Use a Planet Visibility Finder?
Enter the observing date and location, verify the timezone, and compare each planet’s position with the sky conditions during your planned session.
1. Select the Observing Date
Use the local civil date at the observing site.
An evening session may continue after midnight, so retain the date with every time value. A planet visible shortly after midnight belongs to the following civil date even when the observing session began the previous evening.
2. Enter Accurate Coordinates
Latitude and longitude determine:
- whether a planet rises;
- when it reaches a useful altitude;
- which direction it appears;
- when it sets;
- how its path meets the local horizon.
A nearby city is usually adequate for casual viewing. Use the actual observing site when the planet remains low, the viewing window is short, or foreground alignment matters.
3. Confirm the Timezone
Check whether the finder uses:
- a named timezone;
- a fixed UTC offset;
- the device timezone; or
- Coordinated Universal Time.
An incorrect daylight-saving setting can shift the result by an hour. Historical timezone rules may also vary between services.
4. Read the Complete Planet Result
Do not rely on a single “visible” label. When available, record:
- rise time;
- set time;
- transit or maximum-altitude time;
- current or session altitude;
- azimuth;
- apparent magnitude;
- solar elongation;
- constellation;
- recommended viewing period;
- naked-eye or optical-aid guidance.
The U.S. Naval Observatory rise, set, and transit service provides rise and set times, event azimuths, transit times, and altitude at transit for major Solar System bodies.
5. Add Twilight, Moonlight, and Weather
A planet may be geometrically well placed but hidden by a bright twilight sky, cloud, smoke, haze, or a blocked horizon.
Use the Astronomical Twilight Calculator to evaluate solar darkness. The Moonrise and Moonset Calculator and Moon Phase Calculator help assess lunar interference.
What Does Each Visibility Result Mean?
| Result | Direct meaning | Why it matters | Important limitation |
|---|---|---|---|
| Rise time | The calculated time when the planet crosses an ideal horizon | Identifies the start of its geometric above-horizon period | Terrain and buildings can delay actual visibility |
| Set time | The calculated time when the planet descends through the ideal horizon | Identifies the end of the geometric window | A raised horizon can hide the planet earlier |
| Altitude | Angular height above the horizon | Higher planets are usually easier to see through less atmosphere | High altitude does not guarantee clear weather |
| Azimuth | Direction measured clockwise from true north | Shows where to look and whether the horizon is open | A magnetic compass may require declination correction |
| Transit | Meridian-crossing event, often near the highest altitude of that passage | Helps identify a favorable observation period | Unusual high-latitude geometry can behave differently |
| Apparent magnitude | How bright the object appears from Earth | Helps compare detectability | Brightness alone cannot overcome daylight or severe haze |
| Solar elongation | Angular separation between the planet and the Sun | Indicates whether the planet is lost in solar glare | A large elongation does not guarantee high altitude |
| Constellation | Background star pattern containing the planet’s apparent position | Helps with identification | Constellation boundaries do not describe visibility |
| Visibility label | The finder’s summary judgment | Provides a quick first check | Different tools may apply different thresholds |
Which Planets Can Be Seen Without a Telescope?
Five planets can commonly be observed without optical aid under suitable conditions: Mercury, Venus, Mars, Jupiter, and Saturn. NASA identifies these as the five traditional naked-eye planets.
Uranus is near the limit of unaided vision and requires exceptional conditions, accurate identification, and excellent eyesight. Neptune is not considered a naked-eye target.
| Planet | Typical unaided-eye status | Main visibility challenge | Useful planning value |
|---|---|---|---|
| Mercury | Visible without optical aid when favorably placed | Low altitude and bright twilight | Elongation, altitude, and short rise/set window |
| Venus | Usually an easy naked-eye target when above the horizon | Proximity to the Sun and restricted morning or evening window | Elongation, altitude, and horizon direction |
| Mars | Often visible without optical aid, but brightness varies greatly | Can become modest and inconspicuous when distant | Magnitude, altitude, and observing season |
| Jupiter | Usually a prominent naked-eye object when well placed | Low altitude or solar glare near conjunction | Altitude, transit time, and twilight |
| Saturn | Visible without optical aid under suitable conditions | Less visually dominant than Venus or Jupiter | Altitude, magnitude, and identification |
| Uranus | Marginal without optical aid | Faintness and difficult identification | Dark sky, precise chart, and optical aid |
| Neptune | Requires optical aid | Too faint for normal unaided viewing | Telescope or binocular guidance and accurate position |
NASA’s skywatching guidance explains that Mercury, Venus, Mars, Jupiter, and Saturn are readily observable without a telescope when their geometry is favorable.
Why Is “Above the Horizon” Not Enough?
A planet can be above the mathematical horizon and still be impractical to observe.
The Planet May Be Too Low
Near the horizon, a planet’s light travels through more atmosphere. Absorption, scattering, turbulence, haze, and local obstructions become more important.
NASA recommends treating about 10° altitude as a useful practical target for many naked-eye observations, while noting that circumstances vary. A clenched fist held at arm’s length spans roughly that angular distance.
Ten degrees is a planning aid, not a universal visibility boundary.
The Sky May Be Too Bright
Mercury or Venus can be above the horizon while remaining lost in twilight. Mars, Jupiter, or Saturn can also become difficult when close to the Sun’s apparent direction.
The Planet May Be Too Faint
Apparent magnitude uses lower numbers for brighter objects. Negative magnitudes represent especially bright objects.
Magnitude must be interpreted with altitude, sky brightness, atmospheric transparency, and the observer’s equipment.
The Horizon May Be Blocked
Trees, ridges, buildings, balconies, and nearby structures can remove a large part of a low-altitude viewing window.
Original Decision Framework: The Four-Gate Visibility Test
The Four-Gate Visibility Test is a planning framework introduced in this guide. It is not an official NASA, USNO, or professional-observatory classification.
A planet is a strong observing candidate only when it passes all four gates.
Gate 1: Position
Ask:
- Is the planet above the local horizon?
- Is it above nearby terrain and buildings?
- Does it reach a useful altitude during the session?
- Is its azimuth visible from the site?
A planet below the horizon or behind an obstruction fails the position gate.
Gate 2: Solar Light
Ask:
- Has the Sun set?
- Is the planet far enough from the Sun’s apparent position?
- Is the twilight stage suitable for the planet’s brightness?
- Is the planet an evening or morning target?
A bright Venus may remain visible during twilight, while a faint planet may require a darker sky.
Gate 3: Detectability
Ask:
- What is the planet’s apparent magnitude?
- Is it a normal naked-eye target?
- Is binocular or telescope assistance required?
- Will haze, moonlight, or artificial skyglow reduce contrast?
The detectability gate connects astronomical output with the observer’s eyes and equipment.
Gate 4: Site and Timing
Ask:
- Does the useful planet window overlap the available session?
- Is the forecast reasonably clear?
- Is the viewing direction free of glare?
- Is enough time available to identify and observe the planet?
A planet visible for only a few minutes may be technically observable but impractical for a casual trip.
Visibility Verdict
| Gate result | Practical verdict |
|---|---|
| All four gates pass comfortably | Strong candidate |
| One gate is marginal | Conditional candidate |
| Optical aid is the only missing requirement | Visible with equipment |
| Position or solar-light gate fails | Not practical during the selected session |
| Weather or horizon information is unknown | Astronomically possible, locally uncertain |
How Do You Calculate a Useful Viewing Window?
The Useful Viewing Window is the overlap between the observer’s available time, the planet’s useful altitude, and a suitable twilight condition.
It is an original scheduling method used in this guide, not an official astronomical metric.
Define the Windows
- Session window: when the observer is available.
- Altitude window: when the planet remains above the chosen practical altitude.
- Darkness window: when the twilight stage is suitable for the target.
- Site window: when the viewing direction is accessible and weather is acceptable.
For a scheduled session:
Useful start = latest of session start, altitude-window start, and chosen twilight boundary
Useful end = earliest of session end, altitude-window end, and any site restriction
Useful Viewing Window = maximum of zero and useful end minus useful start
If the useful end occurs before the useful start, the selected session contains no usable overlap.
Choosing a Twilight Threshold
The correct darkness threshold depends on the planet:
| Target type | Possible starting condition |
|---|---|
| Venus or bright Jupiter | Civil or nautical twilight may be sufficient |
| Mercury | Twilight is expected, so altitude and solar separation are critical |
| Mars or Saturn | Nautical or astronomical twilight may improve identification |
| Uranus | Darker sky and precise location guidance are strongly preferred |
| Neptune | Dark sky and optical aid are normally required |
These are planning recommendations rather than guaranteed visibility limits.
Worked Example: Is the Planet Worth Observing?
The following values are hypothetical and do not describe a real planet on a real date.
Finder Output
- Planned session: July 30 from 8:30 p.m. to 11:30 p.m.
- Nautical twilight ends: 9:05 p.m.
- Astronomical twilight ends: 9:44 p.m.
- Planet rises: 7:42 p.m.
- Planet sets: 11:08 p.m.
- Maximum altitude: 28° at 9:38 p.m.
- Planet remains above 10°: 8:48–10:31 p.m.
- Planet remains above 20°: 9:12–10:02 p.m.
- Apparent magnitude: −1.2
- Western horizon: Clear above 7°
Naked-Eye Planning Case
For a bright naked-eye planet, the observer chooses:
- nautical twilight as the darkness threshold;
- 10° as the practical altitude floor.
The useful start is the latest of:
- session start: 8:30 p.m.;
- altitude-window start: 8:48 p.m.;
- nautical twilight end: 9:05 p.m.
Useful start = 9:05 p.m.
The useful end is the earliest of:
- session end: 11:30 p.m.;
- 10° altitude-window end: 10:31 p.m.;
- planet set: 11:08 p.m.
Useful end = 10:31 p.m.
The naked-eye Useful Viewing Window is therefore:
1 hour 26 minutes
Higher-Altitude Telescope Case
For a steadier telescopic view, the observer chooses:
- the end of astronomical twilight;
- a self-selected 20° altitude floor.
The overlap is:
- useful start: 9:44 p.m.;
- useful end: 10:02 p.m.
Higher-altitude telescope window = 18 minutes
The same planet can therefore receive two different recommendations because the observing goals use different thresholds.
| Observer | Practical decision |
|---|---|
| Casual observer | View between 9:05 and 10:31 p.m. |
| Telescope observer | Prioritize the short 9:44–10:02 p.m. high-altitude interval |
| Photographer | Check the changing azimuth and foreground before 9:05 p.m. |
| Late-arriving observer | Choose another night if arrival is after 10:31 p.m. |
How Do Mercury and Venus Differ from the Outer Planets?
Mercury and Venus orbit closer to the Sun than Earth does, so they never appear far from the Sun in Earth’s sky.
Greatest Elongation
Elongation is the angular separation between a planet and the Sun as seen from Earth.
NASA’s Skywatching FAQ explains that Mercury and Venus are generally easiest to observe near greatest elongation, when their apparent separation from the Sun is largest.
Greatest elongation does not guarantee an ideal view. The angle of the ecliptic, season, latitude, horizon clarity, and atmospheric conditions also determine how high the planet appears.
Morning and Evening Appearance
- A planet east of the Sun appears in the evening after sunset.
- A planet west of the Sun appears in the morning before sunrise.
Mercury usually has shorter and more difficult windows than Venus because it remains closer to the Sun.
Opposition
For planets farther from the Sun than Earth, opposition occurs when the planet appears opposite the Sun in Earth’s sky.
Near opposition, an outer planet generally:
- rises around sunset;
- remains visible for much of the night;
- reaches a relatively favorable distance and brightness;
- transits during the nighttime.
Opposition is especially useful for Mars, Jupiter, Saturn, Uranus, and Neptune, although the degree of improvement differs by planet and observing goal.
How Can You Identify a Planet in the Sky?
Planets commonly appear among the zodiac constellations and move relative to the background stars over time.
NASA notes that planets often shine with a steadier appearance than stars. However, a planet close to the horizon can flicker because its light passes through turbulent air.
Use several checks together:
- Match the finder’s azimuth and altitude.
- Confirm the planet’s nearby constellation or bright stars.
- Compare its apparent brightness with surrounding objects.
- Observe whether it changes position over several nights.
- Use binoculars only after safely moving away from the Sun.
Never point binoculars or a telescope near the Sun unless the equipment has a properly installed, purpose-built solar filter and the procedure is supervised by someone with appropriate solar-observing experience.
Why Can Two Planet Finders Give Different Answers?
Different tools can display different visibility verdicts even when their underlying positions are similar.
Different Locations
A city center and a rural observing site can produce different rise, set, altitude, and azimuth values.
Different Visibility Thresholds
One tool may label a planet visible as soon as it rises. Another may require:
- a minimum altitude;
- the end of civil or nautical twilight;
- a brightness threshold;
- a minimum time above the horizon.
Different Ephemerides
Planet finders may use different planetary ephemerides, numerical methods, update schedules, or approximations.
The NASA/JPL Horizons system produces customizable ephemerides for Solar System objects as seen from selected observing locations.
Different Atmospheric Assumptions
Some tools account for atmospheric refraction near the horizon. Others report geometric altitude or apply different refraction models.
Different Time Handling
Named timezones, fixed UTC offsets, daylight-saving rules, and events near midnight can create apparent disagreements.
Different Rounding
A displayed altitude of 10° may represent a rounded value slightly above or below that number.
Before comparing tools, standardize the date, time, coordinates, timezone, altitude convention, and visibility threshold.
Why Does the Finder Say a Planet Is Visible When You Cannot See It?
A visibility label usually means the calculated geometry meets the tool’s criteria. It does not guarantee detection.
| Problem | Likely cause | Recommended action |
|---|---|---|
| Planet is listed as visible but the sky is bright | Twilight or solar glare is too strong | Wait for a darker stage if the planet remains above the horizon |
| Planet is in the correct direction but cannot be found | It is too low, faint, or affected by haze | Allow it to gain altitude or use appropriate optical aid |
| Direction does not match a compass | Finder reports true azimuth | Apply local magnetic declination or use a true-north map |
| Planet disappeared earlier than predicted | Buildings, trees, or terrain blocked it | Use the real local horizon rather than the ideal horizon |
| Finder shows the wrong local hour | Timezone or daylight-saving mismatch | Verify the date-specific offset |
| Two bright objects could be the planet | Identification is uncertain | Compare altitude, azimuth, constellation, and brightness |
| Uranus or Neptune is not visible unaided | Optical aid is required or conditions are inadequate | Use an accurate chart and suitable binoculars or telescope |
| Planet looks unstable or distorted | It is low in turbulent atmosphere | Observe when the planet is higher |
Quick Planning Guide
| Observer type | First value to check | Next check |
|---|---|---|
| Casual skywatcher | Altitude during a convenient time | Direction, brightness, and clouds |
| Mercury observer | Elongation and altitude near twilight | Open horizon and haze |
| Planetary telescope observer | Maximum altitude and timing | Atmospheric steadiness |
| Photographer | Altitude and azimuth over time | Foreground, twilight, and exposure |
| Uranus or Neptune observer | Precise position and optical requirement | Dark sky and identification chart |
| High-latitude observer | Whether the planet rises and reaches useful altitude | Twilight duration and horizon geometry |
Planet-Viewing Checklist
- Confirm the observing date, coordinates, and timezone.
- Identify the planets above the horizon during the session.
- Check altitude and azimuth rather than relying only on rise and set times.
- Compare the planet’s brightness with the twilight stage.
- Check solar elongation for Mercury and Venus.
- Check maximum altitude or transit timing for detailed observation.
- Review Moon position, artificial skyglow, clouds, haze, and smoke.
- Inspect the real horizon for trees, buildings, and terrain.
- Bring an accurate chart when observing Uranus or Neptune.
- Never aim unfiltered optical equipment near the Sun.
Conclusion
A Planet Visibility Finder should answer more than whether a planet is above the horizon. A useful result combines position, solar light, detectability, and local observing conditions.
For a casual view, prioritize bright planets with a comfortable altitude and clear direction. For telescopic detail, favor the planet’s higher-altitude interval. For Mercury, Venus, Uranus, or Neptune, pay special attention to elongation, twilight, darkness, and optical requirements.
Frequently Asked Questions
Which Planets Can Usually Be Seen Without a Telescope?
Mercury, Venus, Mars, Jupiter, and Saturn can be observed without optical aid when conditions and geometry are favorable. Uranus is marginal under exceptional dark-sky conditions, while Neptune requires optical aid.
Does “Visible Tonight” Mean the Planet Is Visible All Night?
No. A planet may be visible only after sunset, before sunrise, or during a short interval between clearing the horizon and setting.
What Is the Best Altitude for Viewing a Planet?
There is no universal threshold, but higher is generally better because the planet’s light passes through less atmosphere. About 10° can serve as a practical starting floor for naked-eye planning, while detailed telescopic observation benefits from greater altitude.
Why Are Mercury and Venus Seen Near Sunrise or Sunset?
Their orbits lie inside Earth’s orbit, so they always appear relatively close to the Sun in our sky. They are therefore observed mainly during morning or evening twilight.
Does a Bright Moon Prevent Planet Observation?
Not necessarily. Bright planets such as Venus and Jupiter can remain easy to see. Moonlight has a greater effect on faint planets, difficult identifications, and observations requiring high contrast.
Can a Planet Finder Predict Cloud Cover?
A pure ephemeris or planet-position tool does not predict weather. Combine the astronomical result with a current cloud, transparency, haze, and smoke forecast.
Sources
NASA Science — Skywatching Tips
Naked-eye planet guidance, planet identification, and general observing recommendations. Accessed July 30, 2026.NASA Science — Planetary Alignments and Planet Parades
Practical discussion of naked-eye planets, low-altitude visibility, twilight, and the usefulness of approximately 10° altitude. Accessed July 30, 2026.NASA Science — Skywatching FAQ
Explanation of Mercury and Venus, greatest elongation, and general skywatching concepts. Accessed July 30, 2026.U.S. Naval Observatory — Rise/Set/Transit Times for Major Solar System Bodies and Bright Stars
Location-based planetary rise, set, transit, altitude, and azimuth data. Accessed July 30, 2026.U.S. Naval Observatory — Topocentric Configuration of Major Solar System Bodies
Planetary topocentric positions, apparent configurations, and quick-look observing information. Accessed July 30, 2026.NASA/JPL — Horizons System
Customizable ephemerides describing the position, motion, and observability of Solar System objects. Accessed July 30, 2026.NASA Science — Check Your Sky Quality with Orion
Explanation of apparent magnitude and the convention that lower magnitude values represent brighter objects. Accessed July 30, 2026.
More from Sky & Time Tools
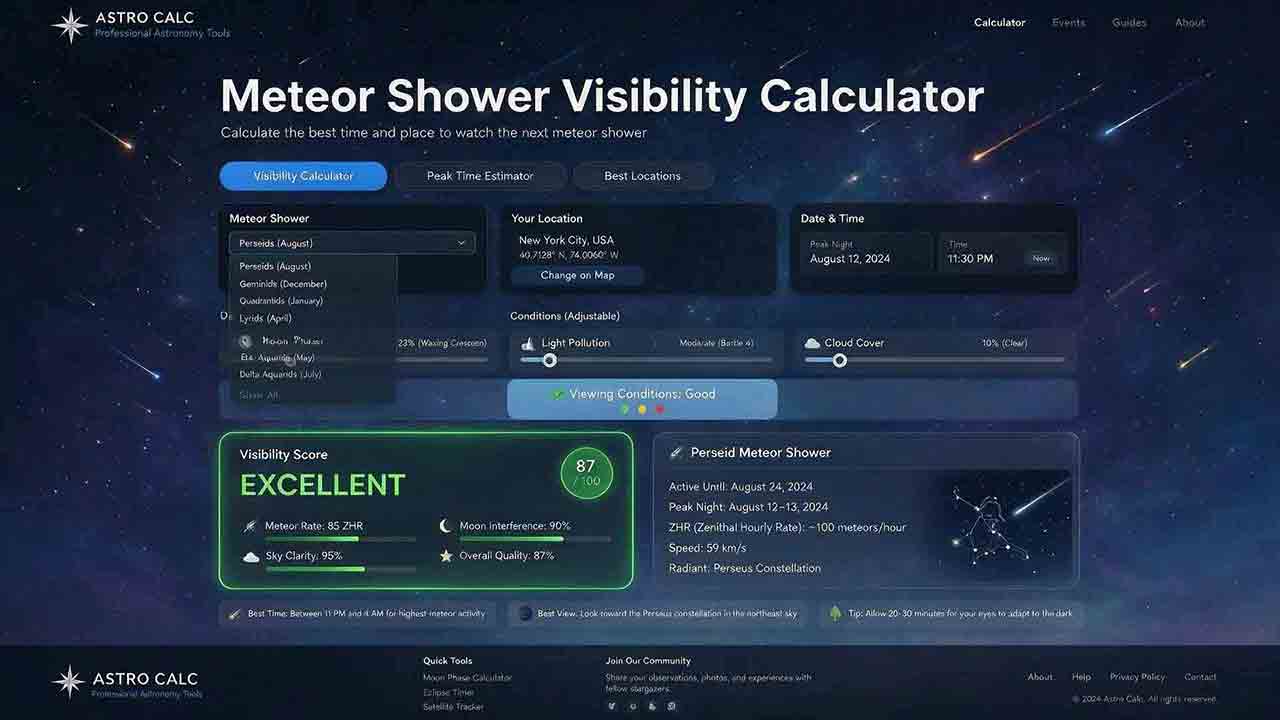
Meteor Shower Visibility Calculator
This guide explains how to use a meteor shower visibility calculator to identify a locally favorable observing window instead of relying only on a published peak time or Zenithal Hourly Rate. It covers activity periods, radiant altitude, astronomical darkness, Moon timing, weather, limiting magnitude, population index, and the distinction between named-shower members, sporadic meteors, and meteors from overlapping showers. The article introduces two original planning tools: the Five-Layer Meteor Test and the Meteor Opportunity Window, which calculates the overlap between activity, radiant, darkness, Moon, weather, and session constraints. A reproducible cross-midnight example compares illustrative 20° and 40° radiant thresholds, producing windows of 2 hours 20 minutes and 1 hour 40 minutes. Practical guidance addresses moonlight, viewing direction, dark adaptation, calculator disagreements, troubleshooting, and responsible site selection, supported by NASA, IMO, AMS, and U.S. Naval Observatory sources.
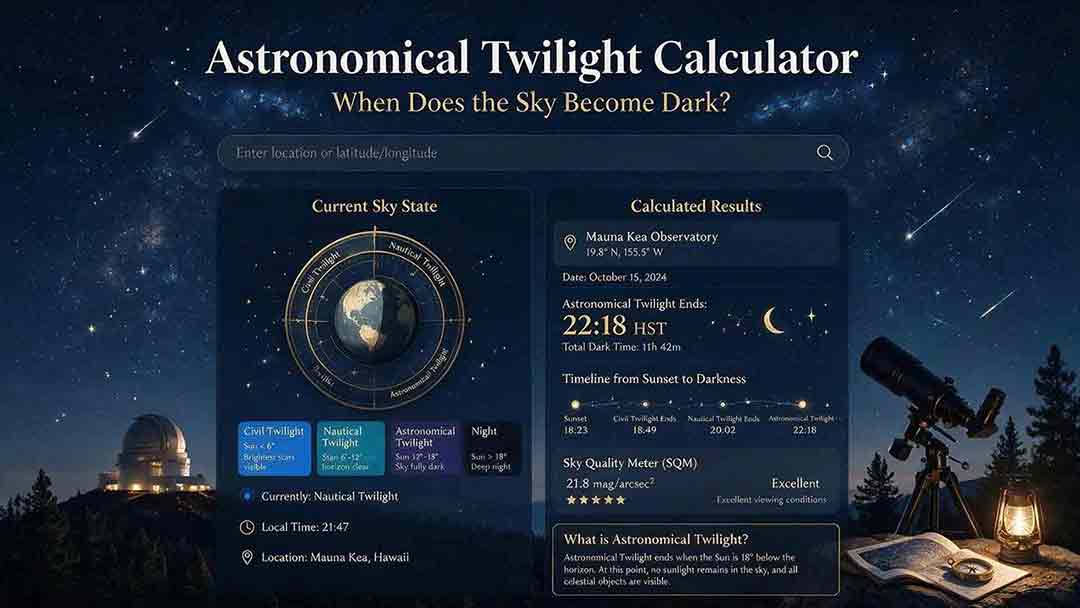
Astronomical Twilight Calculator: When Does the Sky Become Dark?
This guide explains how to use an astronomical twilight calculator to identify the end of evening astronomical twilight and the beginning of morning astronomical twilight for a selected date and location. It distinguishes sunset, civil dusk, nautical dusk, astronomical dusk, and the Sun-below-18° interval while clarifying that solar geometry does not guarantee a visibly dark sky. Readers learn how latitude, season, timezone, daylight-saving rules, moonlight, skyglow, clouds, haze, and high-latitude conditions affect practical planning. The article introduces two original tools: the Darkness Margin, which calculates how much of a session falls inside the Sun-below-18° interval, and a Task Threshold Matrix that matches observing goals to practical twilight stages. A worked cross-midnight example produces a 1-hour-48-minute dark interval. Troubleshooting guidance, planning checks, and authoritative USNO, NOAA, and National Park Service sources support the method.
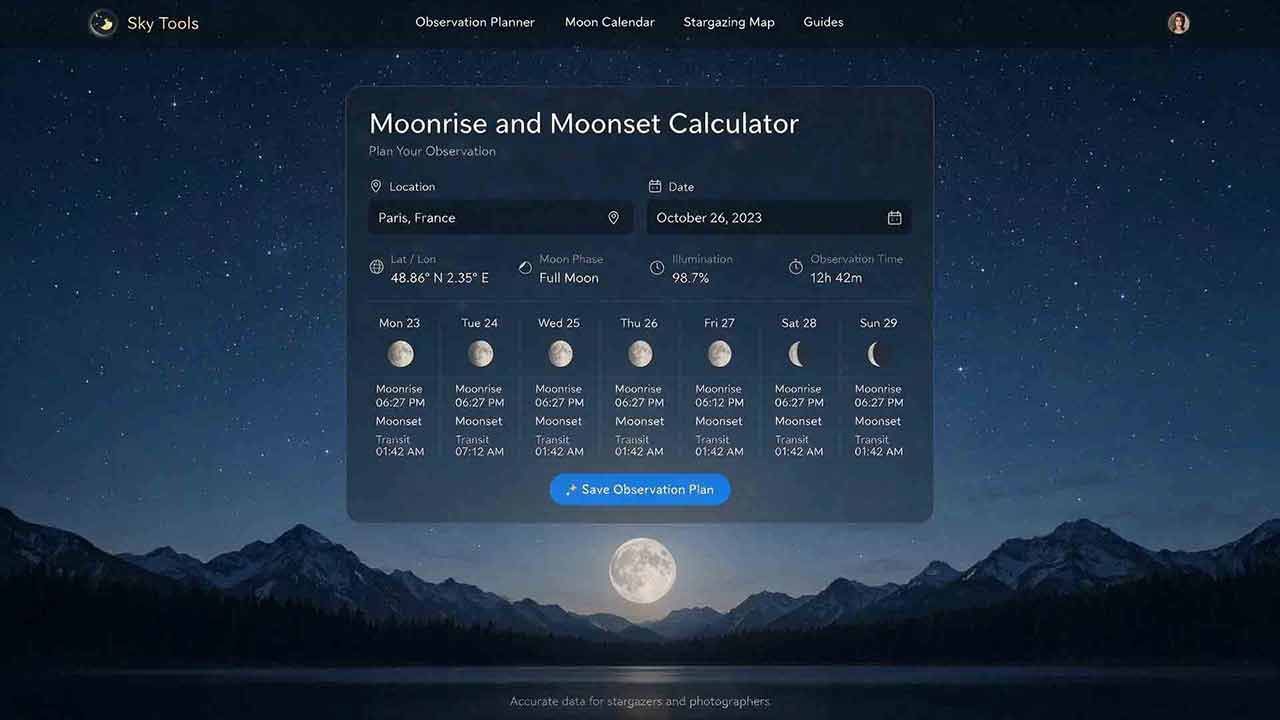
Moonrise and Moonset Calculator: Plan Your Observation
This guide explains how to use a moonrise and moonset calculator to plan lunar observation, astrophotography, meteor watching, and dark-sky sessions. Readers learn how date, coordinates, timezone, daylight-saving rules, observer height, atmospheric refraction, and the local horizon affect predicted event times. It defines moonrise, moonset, upper transit, altitude, azimuth, phase, and illumination, while explaining why a calculated horizon event may not match the first visible appearance of the Moon. The article introduces an original Three-Window Method that compares the sky window, Moon window, and target window, then provides a reproducible overlap calculation and a hypothetical example with a 37-minute fully dark, pre-moonrise interval. Practical tables cover missing rise or set events, high-latitude limitations, common errors, and recommendations for different observers. The guidance is based on NASA and U.S. Naval Observatory documentation.
Explore More Topics
Astrophotography Storage Calculator
This guide explains how to estimate storage for astrophotography capture, processing, and backup without relying on misleading megapixel shortcuts. It compares measured-file, uncompressed-array, and bitrate methods; distinguishes mean, median, high-percentile, and maximum file-size statistics; and explains decimal versus binary storage units. Readers learn how FITS headers, padding, HDUs, RAW compression, calibration frames, RGB conversion, drizzle, mosaics, caches, and temporary files affect project size. Original planning tools include the Four-Bucket Storage Ledger, the Capture–Process–Protect Check, and a clearly defined storage expansion ratio. Worked examples show how to calculate peak logical data, project-relative headroom, complete-copy footprint, media count, write rate, and transfer time. The article also covers integrity verification, backup limitations, retention decisions, and troubleshooting. It is designed to help astrophotographers build realistic capacity plans for single sessions, multi-night projects, planetary video, star trails, and long-term archives.
Star Trail Exposure Calculator
This guide explains how to calculate star-trail exposure time from Earth’s sidereal rotation, stellar declination, and local image scale. It distinguishes polar sweep, declination-adjusted sky-path length, projected pixel length, recorded sweep, missing sweep, and the full start-to-end span of a stacked sequence. Original tables compare trail lengths at several declinations, quantify one-second frame gaps at different image scales, and show how recorded time, gap time, duty cycle, and sequence sweep relate. The Trail–Frame–Sequence Check provides a practical framework for separating celestial geometry, per-frame reliability, and sequence continuity. Worked examples also address the celestial-pole edge case, local WCS-based pixel movement, frame-count limits, long-exposure noise reduction, and the difference between a single exposure and stacked frames. Readers can use the article to plan smoother trails, avoid misleading sequence calculations, and verify expected motion with native-resolution test images.
Camera Field of View Calculator
This guide explains how to calculate horizontal, vertical, and diagonal camera field of view from the recorded active sensor dimensions and effective focal length. It distinguishes physical focal length from crop-factor comparisons, shows why aspect ratio and target rotation affect framing, and provides independently calculated reference tables for common sensor sizes and focal lengths. The original Frame Envelope Check separates ideal frame geometry, the target envelope, and the usable frame retained after dithering, registration, distortion correction, and cropping. Worked examples demonstrate target occupancy, maximum permitted focal length, rotated bounding boxes, and mosaic panel counts with overlap. The article also explains radians versus degrees, crop and stabilization modes, focus breathing, rectilinear versus fisheye projection, and plate-solving verification through a celestial WCS. Readers can use the formulas, margin budget, troubleshooting table, and framing checklist to plan wide-field compositions, small-target imaging, or mosaics without treating a mathematical edge-to-edge fit as a guaranteed final frame.